
Revopush 2.0 User guide
This 5-minute guide will help you to set up your first Revopush 2.0 integration. If your app already uses Revopush v1.x, please refer to the migration guide.
Create an account
First, you need to create an account at the following service: https://app.revopush.org/register
Create an application
- Go to Applications and add an application
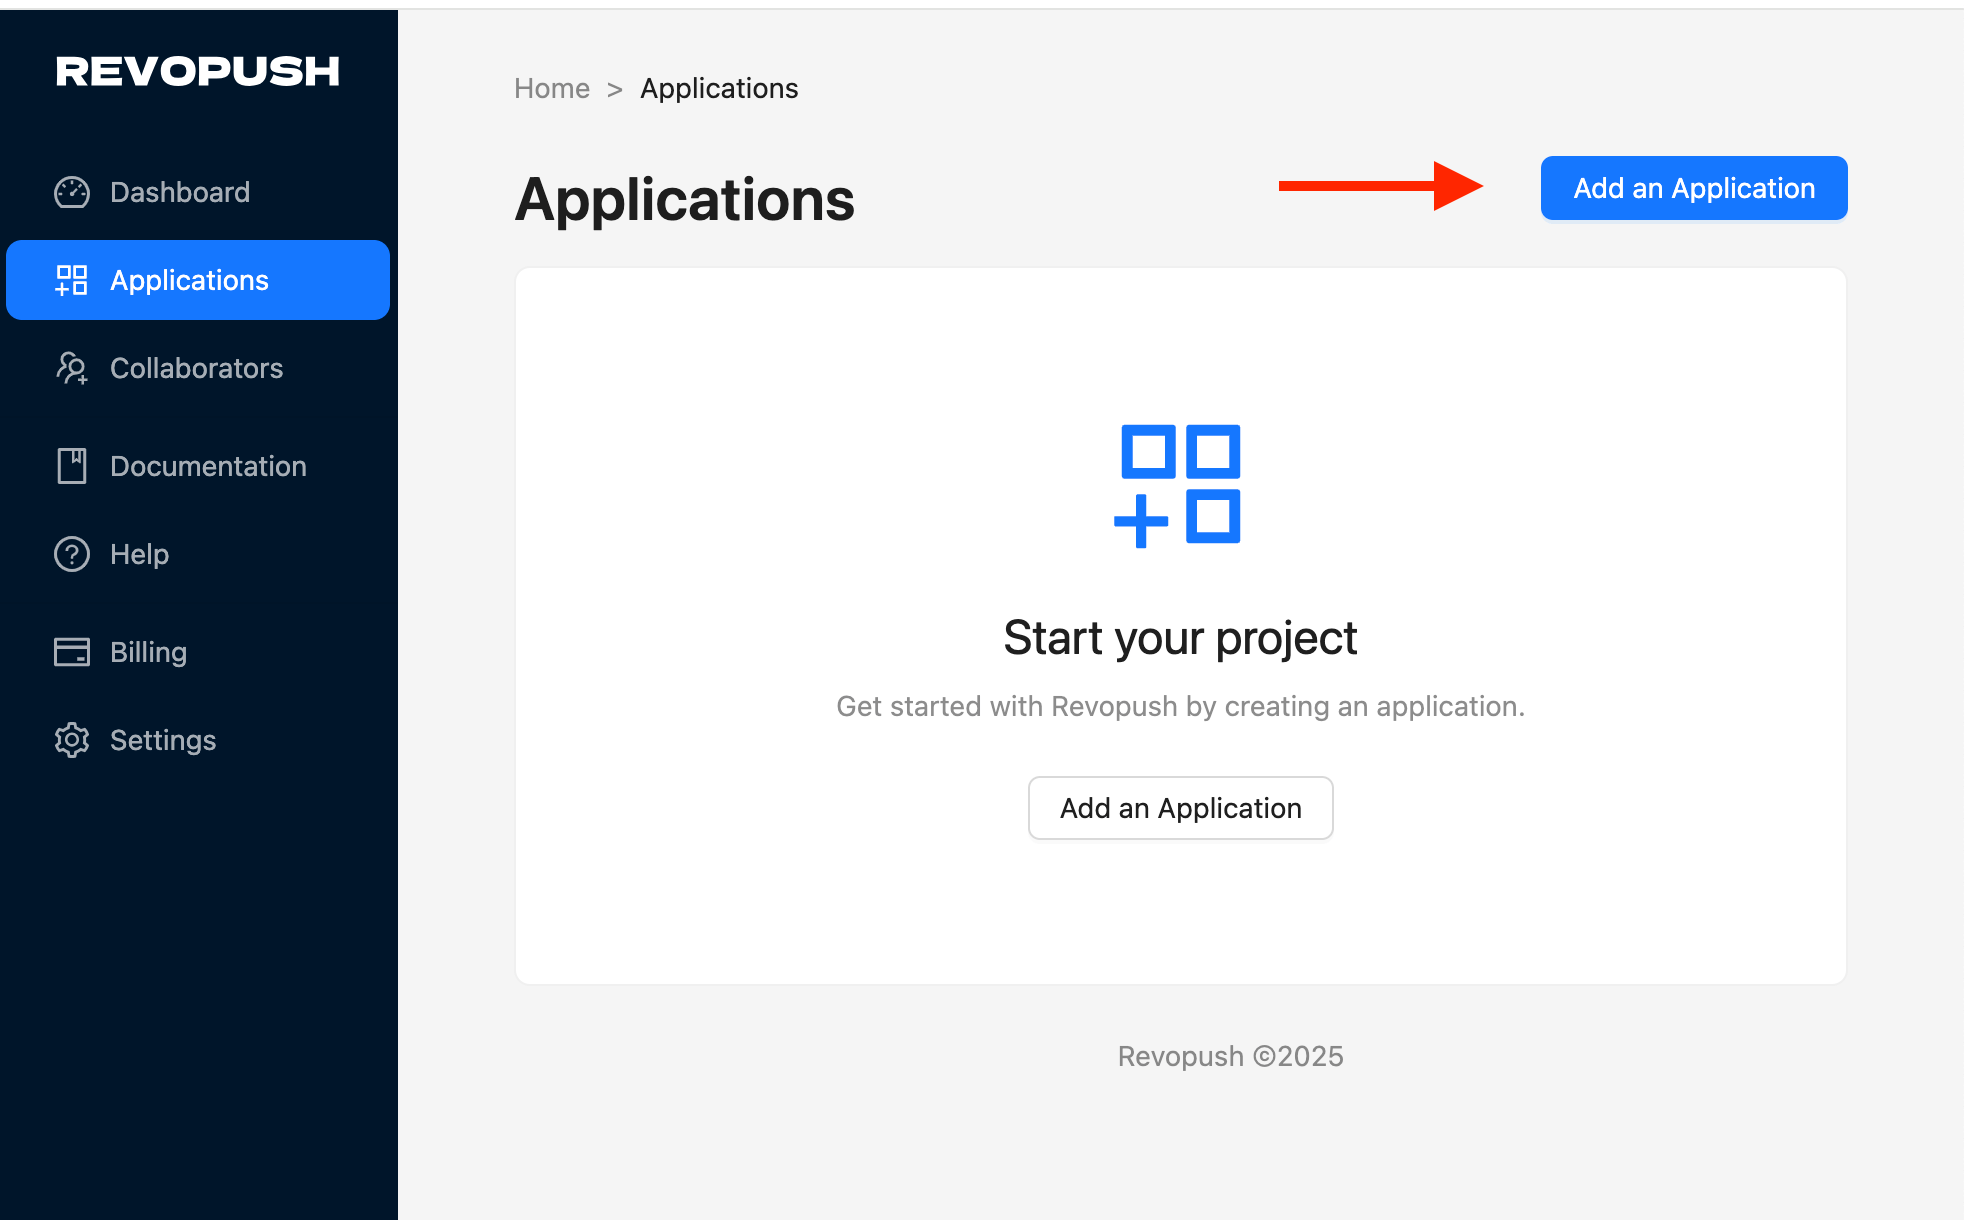
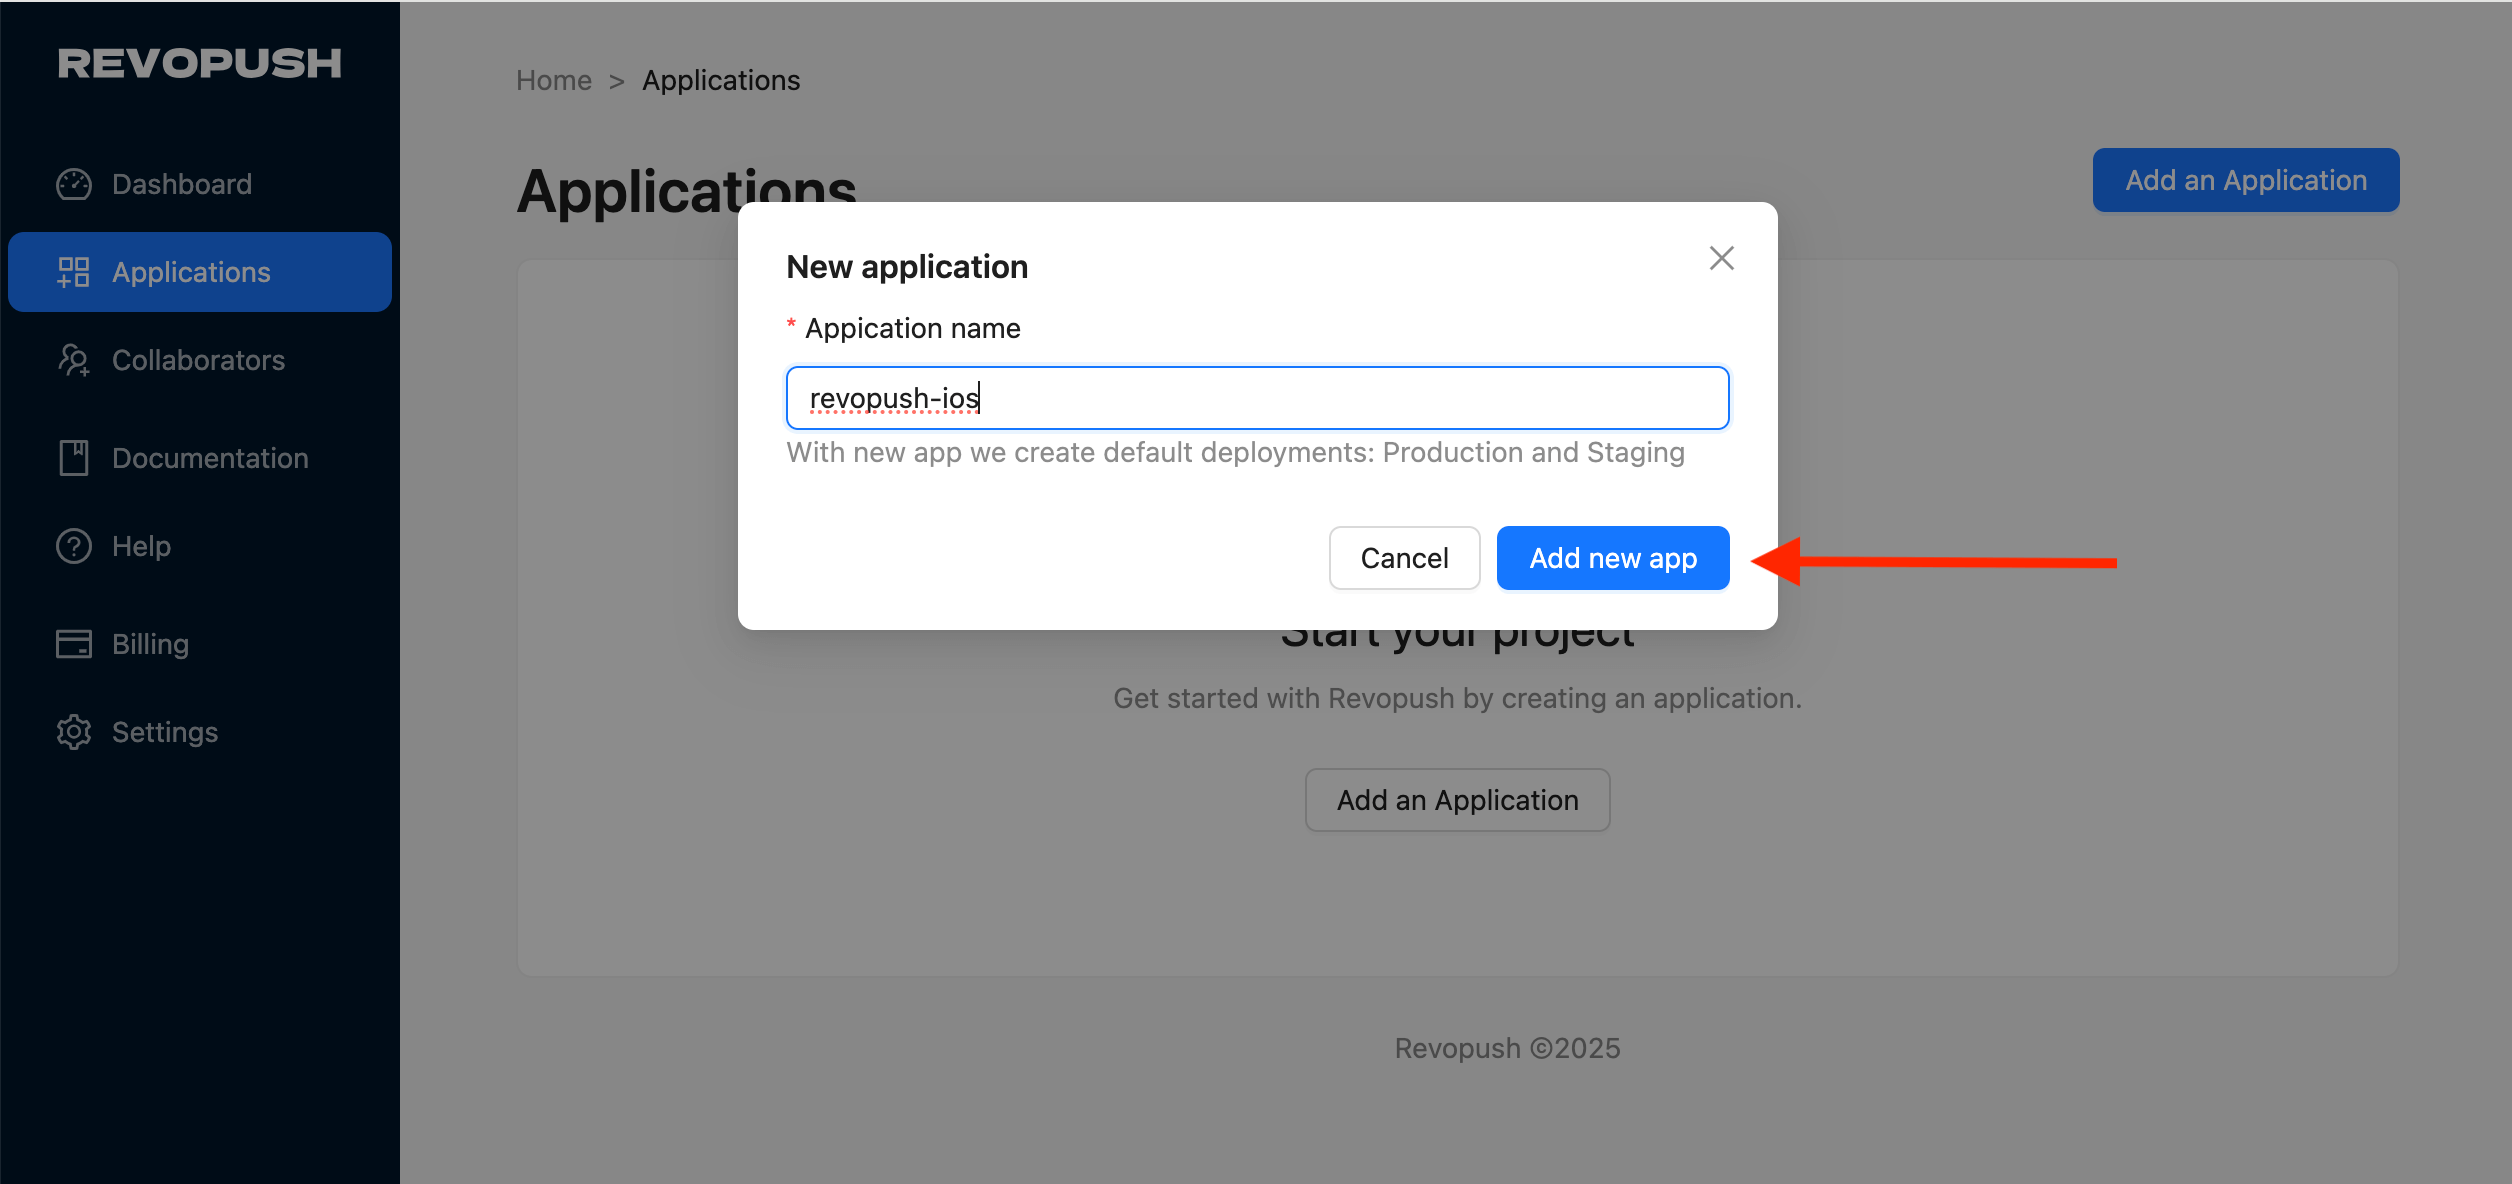
- Enter application name and save it
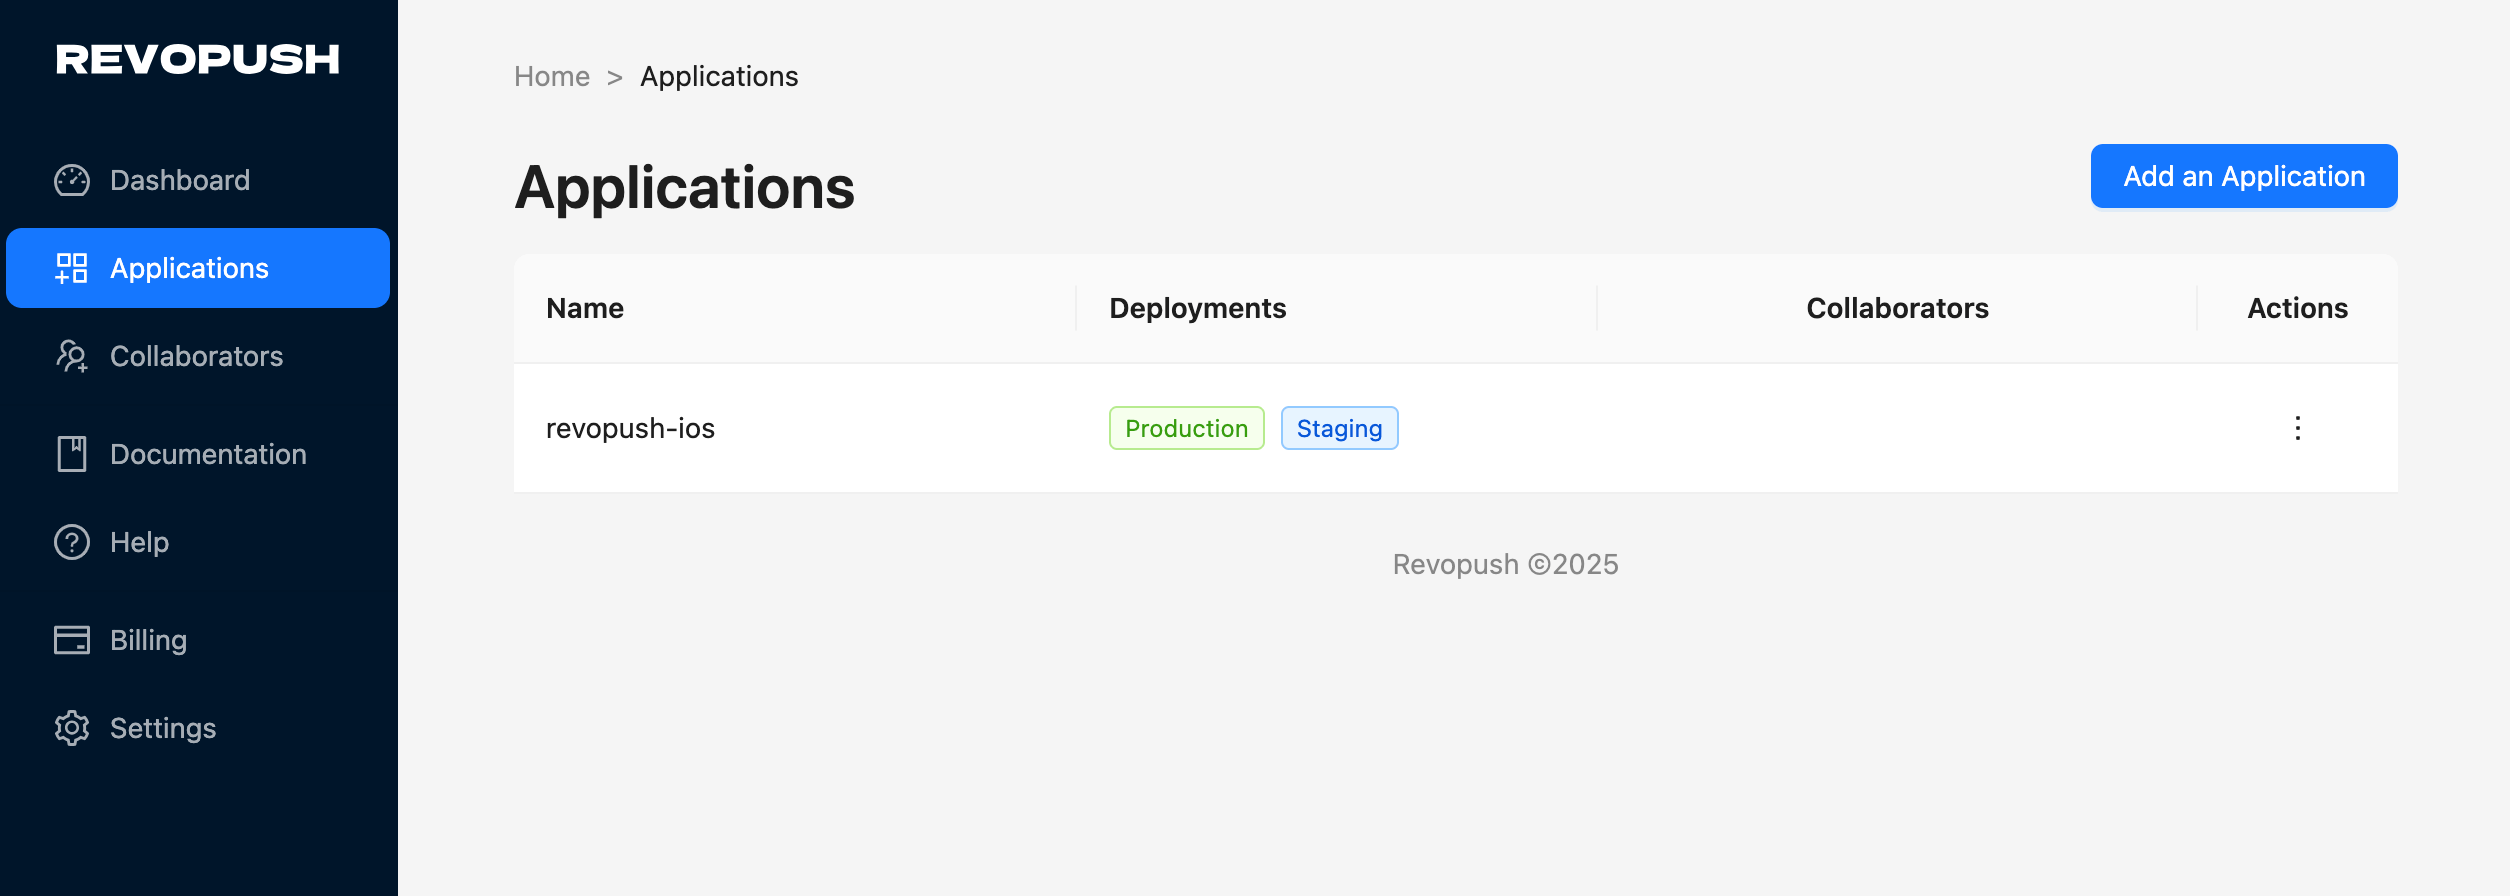
- As a result, you will see your application in the list with two deployments available out of the box
Setup mobile client SDK
- For React Native >=0.76, or you need support for New Architecture, you should use Revopush client SDK.
Only legacy apps still on the original Microsoft CodePush client (React Native < 0.76, Old Architecture only) need to stay on the old client. Everyone else should use the Revopush 2.x SDK by default.
| Platform | Version(s) | Supporting Revopush SDK version(s) |
|---|---|---|
| React Native | < 0.76 (Old Arch only) | Use the legacy Microsoft CodePush client |
| React Native | 0.76 – 0.82 | @revopush/react-native-code-push@2.5.x (New & Old Architecture) |
| React Native | 0.83 and above | @revopush/react-native-code-push@2.6.x (New & Old Architecture) |
| Expo SDK | 52 – 54 | @revopush/react-native-code-push@2.5.x + Expo plugin 1.0.x — see Expo guide |
| Expo SDK | 55 and above | @revopush/react-native-code-push@2.6.x + Expo plugin 1.1.x — see Expo guide |
For this guide we will use Revopush SDK
Install Revopush client:
npm install --save @revopush/react-native-code-pushSetup iOS
Go to the ios/[ProjectName]/AppDelegate.swift and replace:
import CodePush

override func bundleURL() -> URL? {
#if DEBUG
    Bundle.main.url(forResource: "main", withExtension: "jsbundle")
    return CodePush.bundleURL()
#else
    Bundle.main.url(forResource: "main", withExtension: "jsbundle")
    return CodePush.bundleURL()
#endif
}
Go to the ios/[ProjectName]/AppDelegate.mm and replace:
#import <CodePush/CodePush.h>

- (NSURL *)bundleURL
{
    #if DEBUG
      return [[RCTBundleURLProvider sharedSettings] jsBundleURLForBundleRoot:@"index"];
    #else
      return [[NSBundle mainBundle] URLForResource:@"main" withExtension:@"jsbundle"];
      return [CodePush bundleURL];
    #endif
}
WARNING
Put this line to ios/.xcode.env.local and ios/.xcode.env
export SOURCEMAP_FILE="$DERIVED_FILE_DIR/main.jsbundle.map"Setup Android
Go to the android/app/build.gradle and add:
apply plugin: "com.android.application"
apply plugin: "org.jetbrains.kotlin.android"
apply plugin: "com.facebook.react"

apply from: "../../node_modules/@revopush/react-native-code-push/android/codepush.gradle"
Then apply changes to MainApplication.kt in the android/app/src/main/../MainApplication.kt
import com.facebook.react.soloader.OpenSourceMergedSoMapping
import com.facebook.soloader.SoLoader

import com.microsoft.codepush.react.CodePush

class MainApplication : Application(), ReactApplication {

  override val reactNativeHost: ReactNativeHost =
      object : DefaultReactNativeHost(this) {
        override fun getPackages(): List<ReactPackage> =
            PackageList(this).packages.apply {}

        override fun getJSBundleFile(): String {
            return CodePush.getJSBundleFile()
        }

        override fun getJSMainModuleName(): String = "index"
      }
}
For React Native 0.83+
import com.facebook.react.soloader.OpenSourceMergedSoMapping
import com.facebook.soloader.SoLoader

import com.microsoft.codepush.react.CodePush

class MainApplication : Application(), ReactApplication {

  override val reactHost: ReactHost by lazy {
    getDefaultReactHost(
      context = applicationContext,
      packageList =
        PackageList(this).packages.apply {
          // Packages that cannot be autolinked yet can be added manually here, for example:
          // add(MyReactNativePackage())
        },
      jsBundleFilePath = CodePush.getJSBundleFile(),
    )
  }
}
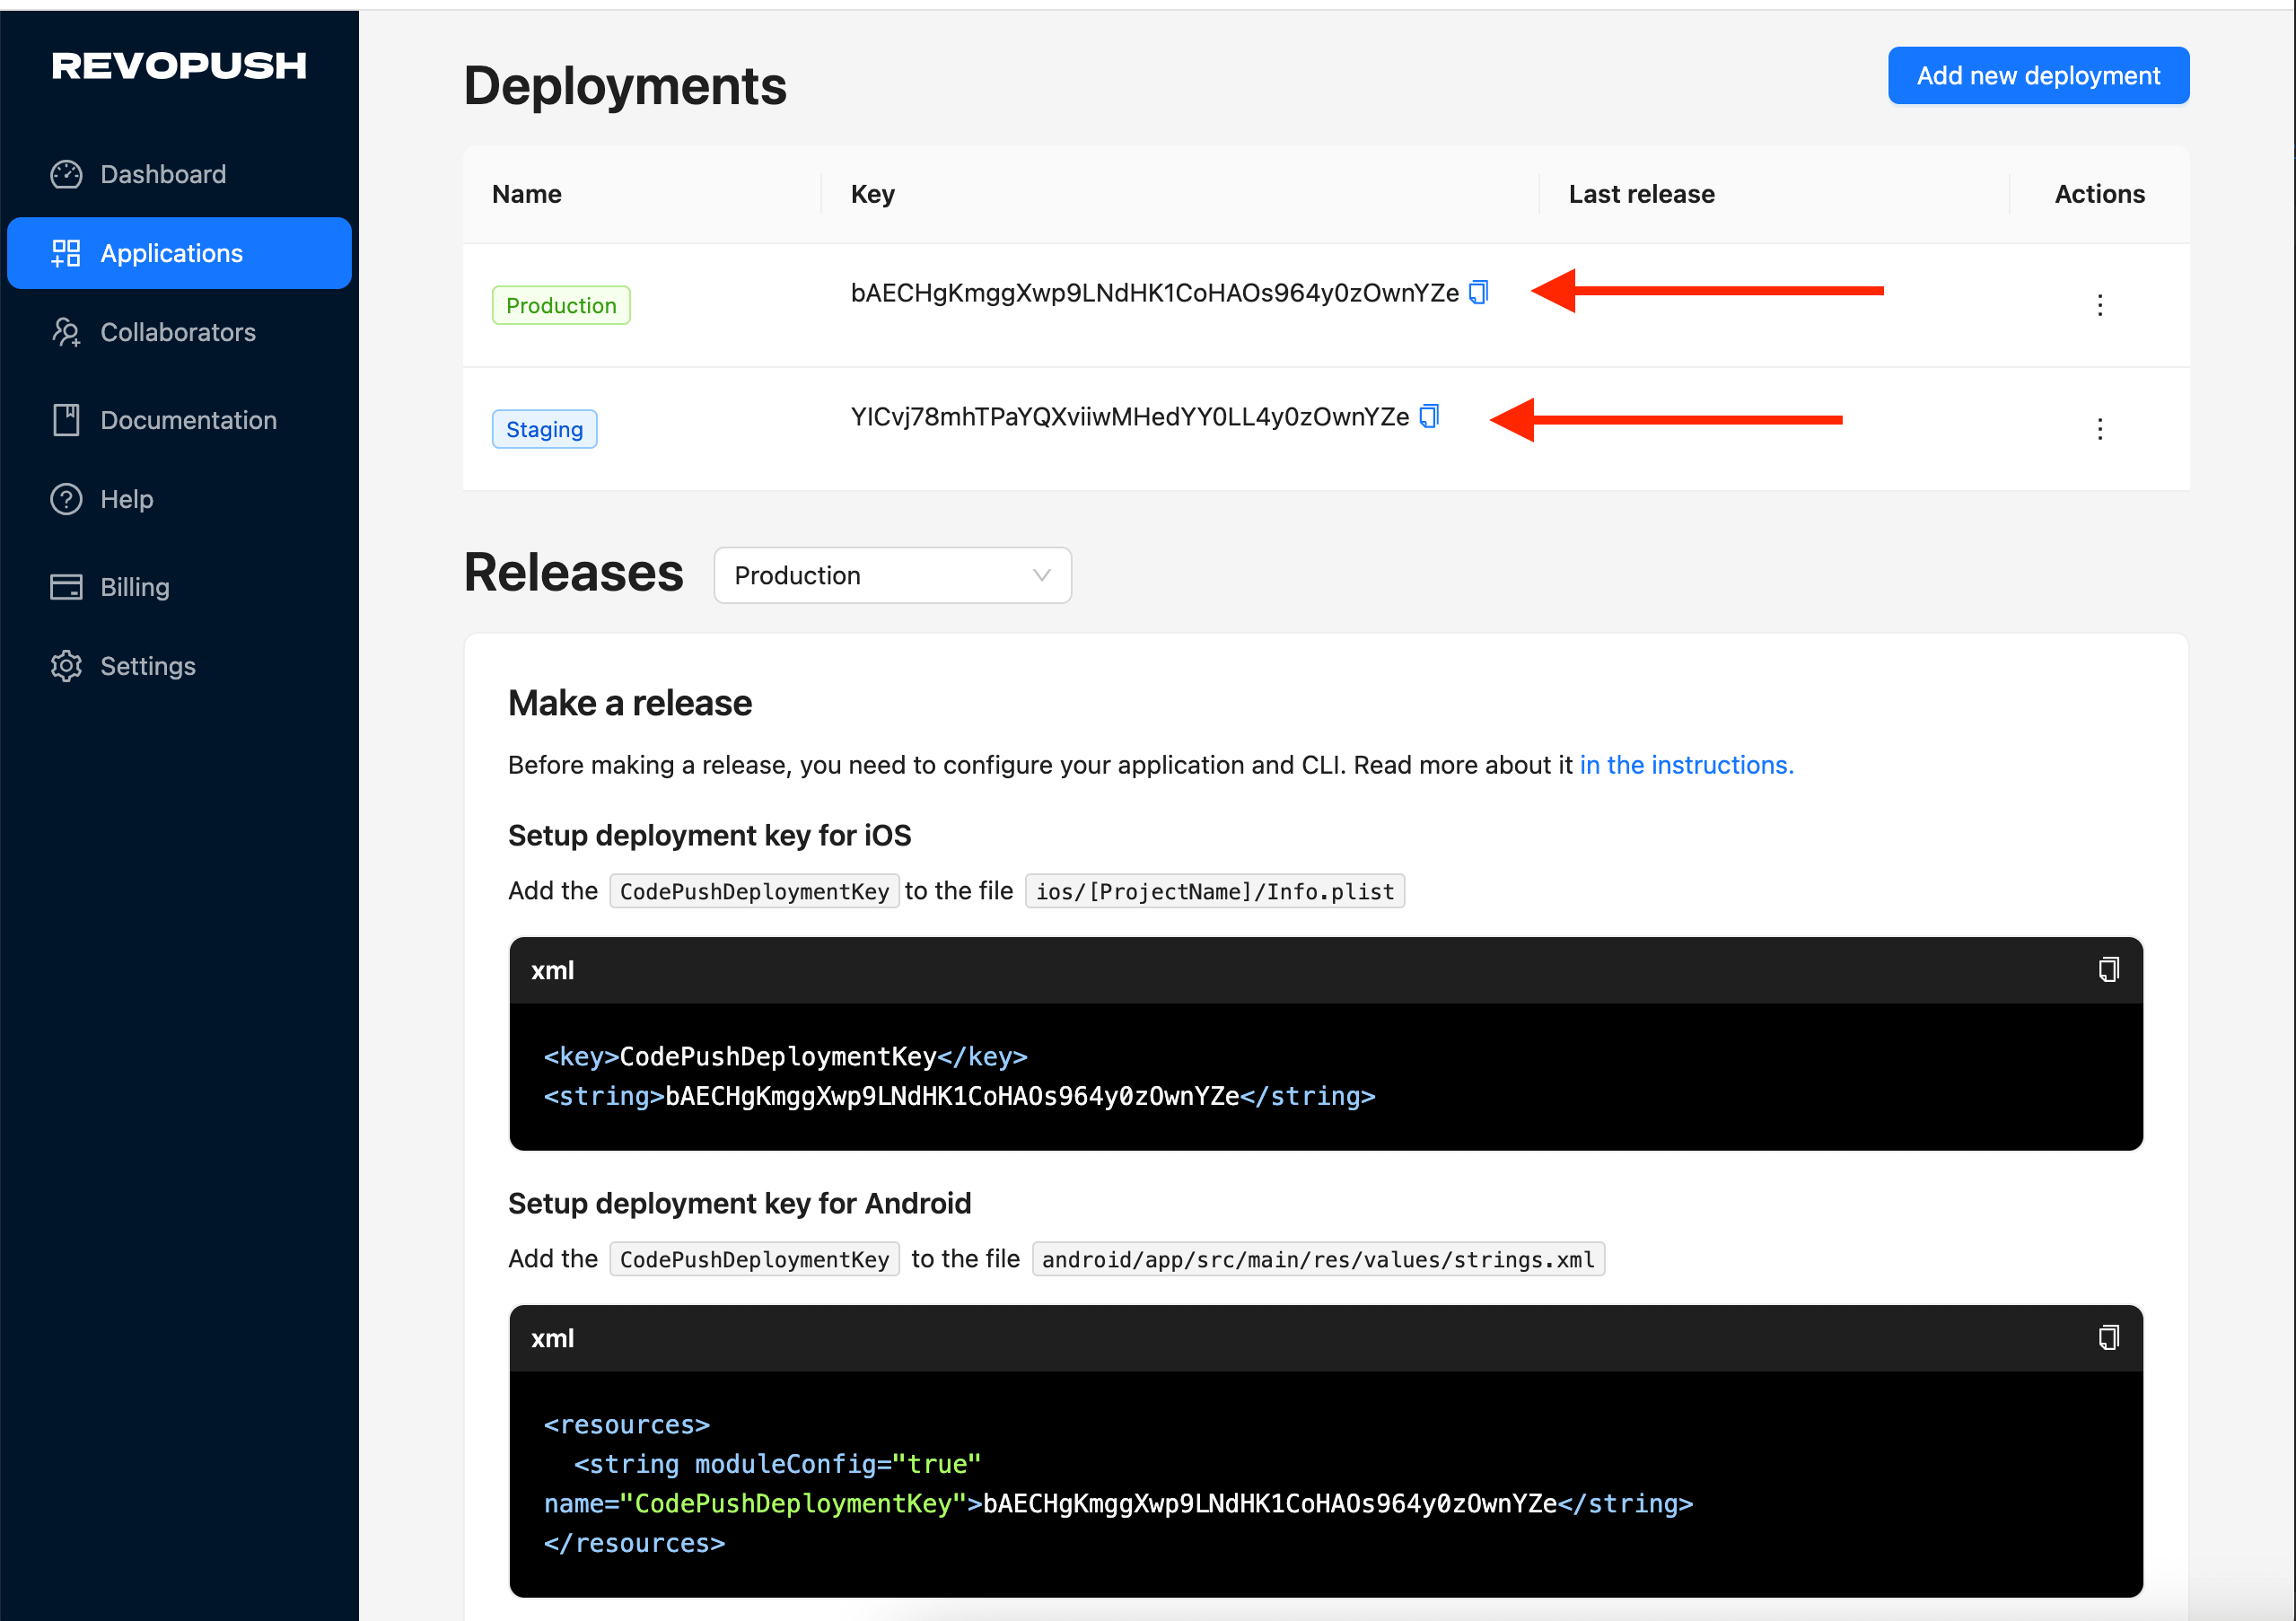
After you configure your React Native application go to app settings to get Deployment keys:
Setup deployment key for iOS
Add the CodePushServerURL and CodePushDeploymentKey to the file ios/[ProjectName]/Info.plist
<key>CodePushServerURL</key>
<string>https://api.revopush.org</string>
<key>CodePushDeploymentKey</key>
<string>YOUR_DEPLOYMENT_KEY</string>
Setup deployment key for Android
Add the CodePushServerUrl and CodePushDeploymentKey to the file android/app/src/main/res/values/strings.xml
<resources>
    <string moduleConfig="true" name="CodePushServerUrl">https://api.revopush.org</string>
    <string moduleConfig="true" name="CodePushDeploymentKey">YOUR_DEPLOYMENT_KEY</string>
</resources>
JS configuration
Configure the SDK in the JavaScript layer of your app (minimal setup):
import codePush from "@revopush/react-native-code-push";

class MyApp extends Component {}

MyApp = codePush(MyApp);
More details: JS SDK API
Configure CLI
After registration, install the Revopush CLI.
Uninstall existing version of Revopush CLI:
npm uninstall -g @revopush/code-push-cliInstall Revopush CLI version:
npm i -g @revopush/code-push-cli@0.0.10Login to Revopush CLI using the following command:
revopush loginThis will launch a browser, asking you to authenticate with either your GitHub or Google account. This will generate an access key that you need to copy/paste into the CLI (it will prompt you for it). You are now successfully authenticated and can safely close your browser window.
Opening your browser...
Visit https://app.revopush.org/cli-login?hostname=<YOUR_HOST_NAME> and enter the code

Enter your access key:
Read more about Revopush CLI
Make a release
To use Diff updates together with Revopush SDK 2.0, you must first create a base release for the specific binary version of the app you are targeting.
What is a base release?
A base release is a snapshot of your assets and JavaScript bundle exactly as they were shipped to the app stores together with your IPA/APK.
This snapshot is then used as a baseline to generate diffs only for assets and the JS bundle that already exist in the store build and on users’ devices.
As a result, update payload sizes are reduced by 10–20×, and update delivery to users becomes significantly faster.
To create a base release, you first need to build release APK/IPA files for the target platform and then provide these files as CLI parameters to create the base release.
revopush release-native <APPLICATION_NAME> ios ./path_to_ipa/app.iparevopush release-native <APPLICATION_NAME> android ./path_to_apk/app.apkrevopush release-native <APPLICATION_NAME> android ./path_to_aab/app.aabFull command specification:
revopush release-native <appName> <platform> <targetBinary> [options]

Options:
  --help                     Show help  [boolean]
  -d, --deploymentName       Deployment to release the update to  [string] [default: "Staging"]
  -t, --targetBinaryVersion  Semver expression that specifies the binary app version(s) this release is targeting (e.g. 1.1.0, ~1.2.3).  [string] [default: null]
  -v, --version              Show version number  [boolean]
Regular release
revopush release-react <APPLICATION_NAME> ios -d <DEPLOYMENT_NAME>revopush release-react <APPLICATION_NAME> android -d <DEPLOYMENT_NAME>WARNING
To properly calculate diff updates when using -o or --outputDir parameter, the output directory must end with CodePush.
For example:
revopush release-react <APPLICATION_NAME> android -d <DEPLOYMENT_NAME> -o ./build/CodePushRead more about Releases in Releasing updates guide
Run application in release mode
If you want to test integration locally run the app in Release mode on an emulator or real device:
npx react-native run-ios --mode Release --no-packager
npx react-native run-android --mode Release --no-packager
This ensures the app doesn't rely on the local Metro bundler and uses the deployed update instead.